
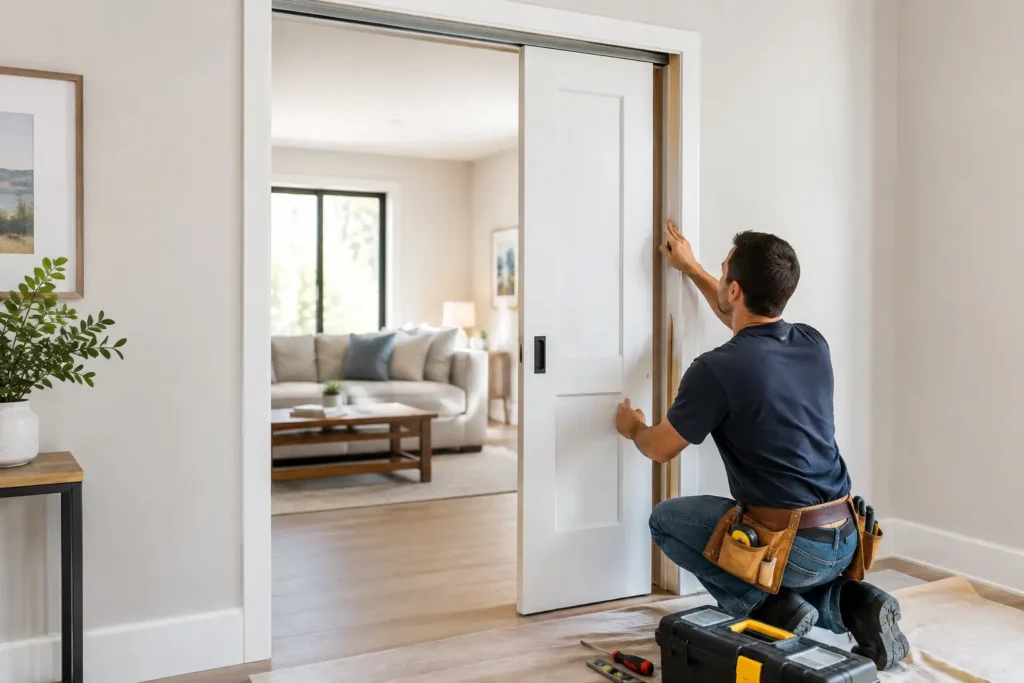
A swinging door can take up more useful floor space than most homeowners realize. In a small bathroom, tight hallway, laundry room, or home office, learning how to install pocket doors can open up the layout without adding square footage. The finished result is clean and practical, but the work behind the wall needs to be planned carefully. A pocket door is only as good as its framing, track, hardware, and finish carpentry.
For many Long Island homes, pocket doors are especially useful during a bathroom remodel, basement renovation, or first-floor reconfiguration where every inch matters. Before choosing a door style, make sure the wall can actually accommodate it.
When a Pocket Door Is the Right Choice
Pocket doors slide into a concealed cavity inside the wall rather than swinging into a room. That makes them a strong option where door clearance interferes with cabinets, fixtures, furniture, or circulation. A 30-inch swing door needs a clear arc to operate. A 30-inch pocket door needs room inside the adjacent wall instead.
They work well for bathrooms, closets, pantries, laundry rooms, en suites, and flexible spaces such as a home office that can double as a guest room. They can also create a polished transition between a kitchen and dining area when a homeowner wants the option to close off noise or activity.
There are trade-offs. Pocket doors do not provide the same sound control as a well-fitted hinged solid-core door, especially if the wall is light construction. They also require specialized framing and leave less room inside that wall for outlets, switches, plumbing, or heating lines. If privacy and sound reduction are the main priorities, a hinged door may still be the better investment.
Check the Wall Before You Install Pocket Doors
The most important decision happens before demolition. The wall beside the doorway needs enough uninterrupted length for the door to slide completely inside. As a general rule, the wall opening and pocket area together need roughly twice the width of the door, though the exact rough opening should always follow the hardware manufacturer’s specifications.
A wall that looks simple from the outside may contain wiring, water lines, drain pipes, ductwork, or structural framing. In older homes, surprises are common. Opening the drywall carefully and inspecting both sides of the wall can prevent a small door project from becoming a much larger repair.
Structural walls need a different plan
A pocket-door opening can be installed in a load-bearing wall, but it is not a casual framing change. The opening must be properly supported with a correctly sized header and jack studs. The pocket section also requires a framing approach that creates a clear cavity for the door while maintaining the wall’s strength.
This is where professional planning matters. Removing studs without understanding what they support can lead to sagging, cracked finishes, or worse. If there is any question about whether a wall is structural, have it evaluated before work begins.
Utilities can change the scope
Standard electrical boxes are usually too deep for the narrow pocket-door cavity. If switches or outlets must remain in that location, shallow electrical boxes and carefully protected wiring may be required. Plumbing is even more limiting. Supply lines can sometimes be relocated, but drain lines and vent stacks often make a wall unsuitable for a pocket door.
Heating ducts, radiator piping, and low-voltage wiring also deserve attention. The best time to solve these issues is when the wall is open, not after the track is installed and the drywall is finished.
Choose the Door and Hardware as One System
A quality pocket-door frame kit provides the track, split studs, hangers, and guides that allow the door to slide in and out. Do not choose hardware as an afterthought. Lightweight hardware may be acceptable for a small closet door, but a bathroom door or solid-core door needs a track rated for its actual weight.
Solid-core doors feel substantial, reduce some sound transfer, and hold up well in active family areas. They are also heavier, so they need better hardware and careful adjustment. Hollow-core doors are easier to move and less expensive, but they can feel less durable and offer less privacy.
Door thickness matters too. Most pocket-door systems are designed around common interior door sizes, but not every decorative slab, reclaimed door, or oversized custom door will fit the available frame kit. Confirm the door thickness, weight, finished opening size, and hardware capacity before framing the wall.
For a bathroom, consider privacy hardware with an emergency release on the outside. For rooms used by children or older family members, soft-close hardware can prevent slamming and reduce the chance of pinched fingers. These details may seem small, but they make the finished door easier to live with every day.
The Basic Process to Install Pocket Doors
Once the wall has been evaluated and materials are selected, the installation follows a clear sequence. Accuracy at each stage matters because the track will be hidden behind finished walls.
First, protect the work area and remove the existing door, casing, baseboard, and drywall as needed. Open the wall wide enough to inspect the framing and utilities. If electrical or plumbing has to move, complete that work before rebuilding the opening.
Next, frame the opening to the dimensions required by the pocket-door system. Install the header where needed, keep the opening square and plumb, and create the pocket cavity using the kit’s split studs or a properly designed wood framing method. The pocket must remain clear from floor to track. A stray screw, nail, or bowed stud can scrape the door every time it moves.
Then install the track perfectly level. Even a slight slope can cause a door to roll open or closed on its own. Secure the track according to the manufacturer’s instructions, install the hangers on the top of the door, and test the door before closing the wall. It should glide smoothly without rubbing the floor, binding at the guides, or striking the framing.
After the operation is right, install drywall carefully. Fasteners are a common source of pocket-door damage. Use the manufacturer-approved screw locations and lengths so nothing enters the door cavity. This is not the place to rush drywall work. A hidden fastener can leave a permanent scratch or stop the door altogether.
Finally, install jambs, casing, pulls, edge hardware, and any privacy lock. Adjust the rollers until the reveal around the door looks even and the latch lines up correctly. Finish carpentry makes a major difference here. Clean trim lines and properly fitted jambs are what make a pocket door look intentional rather than improvised.
Details That Make the Finished Door Better
A pocket door should disappear when open and feel solid when closed. Getting there often comes down to details that are easy to overlook during planning.
Choose recessed pulls that let the door slide fully into the pocket. Add a small edge pull so the door can be retrieved when it is fully open. If the door meets another door in the center of an opening, use coordinating hardware designed for double pocket doors rather than trying to adapt standard pulls.
Think about the baseboard early. Baseboard usually needs to stop at the pocket opening and return neatly into the jamb. Taller or more decorative trim may require custom fitting. The same goes for wall tile near a bathroom pocket door, where careful layout helps avoid awkward narrow cuts at the jamb.
If sound control matters, ask about solid-core slabs, quality perimeter seals, and a door bottom detail that closes the gap without affecting movement. A pocket door will rarely perform like a fully weather-stripped exterior door, but thoughtful material choices can make a noticeable difference.
When Professional Installation Is Worth It
Installing a pocket door is a reasonable project for an experienced renovator working in a simple non-structural wall with no utilities. It becomes more involved when the wall is load-bearing, the home has older wiring or plumbing, the opening is oversized, or the project includes tile, custom trim, flooring repairs, and paint matching.
That is where one coordinated carpentry team can save time and avoid finger-pointing between trades. At That Guy Carpentry, pocket-door work can be planned as part of a larger bathroom, kitchen, or interior renovation so the framing, electrical adjustments, drywall, trim, and final finish all work together.
A pocket door earns its place when it solves a real layout problem and is built with the same care as the room around it. Start with the wall, choose hardware that matches the door, and give the hidden work the attention it deserves. The result is more usable space and a door that glides quietly for years.