
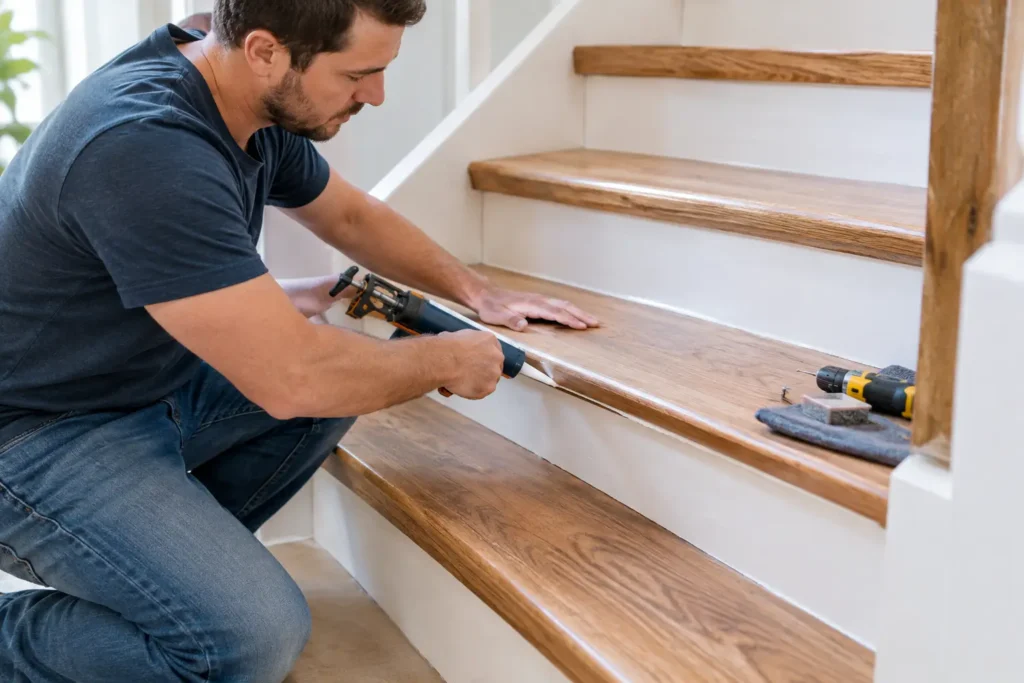
A stair tread that moves underfoot is more than an annoyance. That small squeak, soft spot, or crack can point to loose fasteners, worn lumber, or damage below the finished surface. Knowing how to repair stair treads starts with identifying what is actually moving before covering up the symptom. A solid repair should make the stairs quieter, safer, and ready to stand up to everyday family traffic.
Start by Finding the Source of the Problem
Walk the staircase slowly and test one tread at a time. Put weight near the front edge, then toward the back and along both sides. Listen for squeaks and feel for movement. A squeak at the front of a step often means the tread has loosened from the riser beneath it. Movement near the wall can indicate that the tread has separated from the stringer, the angled framing member that supports the steps.
Look closely for visible splits, worn nosing, gaps at joints, water staining, and nail heads that have worked their way up. If the stair is carpeted, you may need to lift a small section of carpet to see the condition of the tread. Do not assume a loose carpet tack strip is the only issue. The tread itself may be cracked or undersized for the span.
A little seasonal movement is common in Long Island homes, especially where indoor humidity changes between winter and summer. But a tread that flexes noticeably, feels soft, or has a growing crack deserves prompt attention. Stairs are a high-traffic safety feature, not a place for a temporary patch that may fail under a full load.
How to Repair Stair Treads That Squeak
Most stair squeaks happen because two pieces of wood rub together as someone walks on the step. The right fix depends on whether you can access the framing from below.
Repair from the underside when possible
If your staircase has an open basement or closet below it, access from underneath is often the cleanest approach. Have one person stand on the squeaky tread while another watches for movement at the joints. Apply construction adhesive into any accessible gap between the tread, riser, and stringer. Then add short wood blocks, also called cleats, tight against the joint and fasten them with screws.
Use screws that are long enough to hold securely but not so long that they break through the finished walking surface. Pre-drilling helps prevent splitting, particularly on older hardwood treads. Adhesive can stop rubbing, but the screws and blocks provide the lasting mechanical support.
Repair from the top with matching trim screws
When there is no access from below, secure the tread from the top. Locate the stringers first. Most stairs have one at each side and at least one through the center, though wider stairs may have more. A stud finder can help, but confirm with small test holes placed where they can be concealed.
Drill pilot holes and drive trim-head screws through the tread into the framing. Set the screw heads slightly below the surface, then fill the holes with stainable wood filler or matching wood plugs. For painted stairs, fill, sand, prime, and repaint the repaired area.
Avoid simply driving extra nails into a squeaky tread. Nails can loosen again as the wood expands and contracts. Screws create a stronger connection and are much less likely to back out over time.
Check the riser connection
Sometimes the tread is secure, but the riser below it has separated. A thin line of construction adhesive at the joint can help, followed by carefully placed finish screws or nails. If the stair has a painted finish, this is usually an easy repair to touch up. On stained hardwood, placement and color matching matter more, so take your time or call a finish carpenter for a cleaner result.
Repairing Cracked, Split, or Damaged Treads
A small surface crack and a structural split are not the same repair. Surface damage can often be filled and refinished. A crack that runs across the tread, reaches the nosing, or opens when stepped on usually means the board has lost strength and should be replaced.
When wood filler is enough
For shallow scratches, small chips, and minor checks in a stable tread, clean out loose material and apply a high-quality wood filler suited to the existing finish. Let it cure fully, sand it smooth, and blend the color with stain, paint, or a finish touch-up product.
This approach works best for cosmetic flaws. It will not restore a tread that has begun to sag, flex, or split along its grain. Filling a major crack may make the step look better for a while, but it does not make the step safe.
Replacing a stair tread
Replacing one tread is a more involved job, but it is often the best long-term answer for a damaged hardwood or pine step. Measure the existing tread carefully, including its width, depth, thickness, overhang at the front, and any notches around trim or walls. New material should match the existing tread thickness so the stair rise remains consistent.
That last point matters. Uneven riser heights are a common trip hazard. Even a small change from one step to the next can feel awkward underfoot, especially for children, guests, and anyone carrying laundry or groceries.
Remove the old tread carefully to avoid damaging the surrounding risers, skirt boards, or wall trim. Older stairs may be nailed, glued, or both. Cut the tread into manageable sections if necessary, then pry it up in small increments rather than forcing it free all at once. Install the replacement with construction adhesive and screws or finish nails placed into the stringers.
Before final fastening, dry-fit the new tread and walk on it. Check that it sits flat, its front edge aligns with neighboring steps, and there are no gaps that will collect dirt or create movement later. Finish the new tread before installation when possible, especially if staining, because it is easier to get an even result on a workbench than on a staircase.
Tools and Materials for a Lasting Repair
The exact supplies depend on the damage, but most repairs call for a few dependable basics:
- Drill/driver, drill bits, countersink bit, and trim-head or wood screws
- Construction adhesive rated for wood and interior use
- Wood shims or scrap lumber for support blocks
- Wood filler, sandpaper, and paint or stain for touch-ups
- Pry bar, oscillating tool, and safety glasses for tread replacement
Choose materials based on the stair’s construction and finish. For example, a natural oak staircase deserves a repair that preserves the grain and color, while a painted basement stair may be better served by a practical, durable patch. The goal is not always an invisible repair. The goal is a secure repair that looks appropriate in the space.
When a Stair Repair Needs a Professional
Call a qualified carpenter if several treads are loose, the stringers are cracked, there is rot or termite damage, or the stairs have begun pulling away from the wall. Those conditions can signal a framing issue beyond a single tread. You should also bring in help when a repair would alter tread depth or riser height, since stair proportions affect both comfort and code compliance.
Older homes can present another challenge: previous repairs may be hiding behind carpet, paint, or trim. A professional can open the right areas, reinforce the framing, and rebuild the finished surface without turning a small repair into an avoidable staircase replacement.
That Guy Carpentry helps Nassau and Suffolk County homeowners solve stair problems with the same care used for finish carpentry and full renovations. Whether a single tread needs attention or the whole staircase needs a safer, more polished finish, the right repair should feel solid every time your family comes home.
Do not wait for a squeak to become a break. Addressing movement early protects the staircase, preserves its finish, and gives everyone in the house a steadier step.