
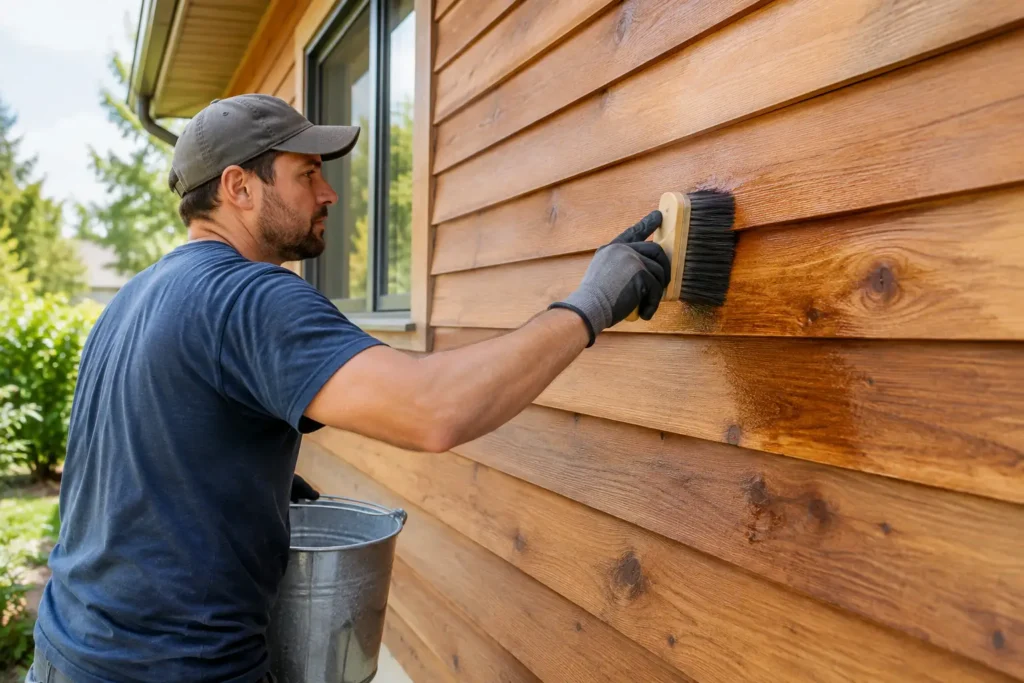
Cedar gives a home warmth and character that manufactured siding cannot quite match. But knowing how to maintain cedar siding is what keeps that character from turning into peeling finish, dark mildew stains, cupping boards, and expensive repairs. Cedar is naturally durable, but it is still real wood. On Long Island, sun, humidity, coastal air, wind-driven rain, and winter moisture all work on it year after year.
The good news is that cedar siding does not need constant attention. It does need the right attention, at the right intervals. A simple routine of gentle cleaning, regular inspection, moisture control, and timely refinishing can protect both the appearance of your home and the wood underneath.
Start With the Finish You Want to Preserve
Before choosing a cleaner or scheduling a maintenance project, identify what is on the cedar now. Cedar may be left unfinished to weather naturally, protected with a clear water repellent, finished with a semi-transparent stain, covered with a solid-color stain, or painted.
Each option calls for a different level of upkeep. A clear sealer preserves the natural look but usually needs renewal more often because it offers limited protection from ultraviolet light. Semi-transparent stains let the grain show while adding color and UV resistance. Solid stains and paint provide the most uniform coverage, but when they begin to fail, peeling areas need careful preparation before recoating.
If you are unsure what finish you have, look at a sheltered section under an eave or behind a downspout. A weathered gray surface, fading color, or water that soaks in instead of beading are useful signs that the protective coating is wearing out. Do not apply a new product until you know it is compatible with the existing finish. A stain over failing paint, for example, will not solve the underlying adhesion problem.
Clean Cedar Gently, Not Aggressively
Dirt, pollen, salt residue, mildew, and airborne grime hold moisture against wood. Cleaning removes those contaminants before they have a chance to stain the cedar or shorten the life of the finish.
For most homes, a gentle wash once a year is enough. Use a soft-bristle brush, a garden hose, and a wood-safe exterior cleaner. Work from the bottom up when applying cleaner to avoid streaking, then rinse from the top down. Follow the cleaner’s dilution and dwell-time instructions rather than assuming a stronger mix will work better.
Avoid treating cedar like concrete. High-pressure washing can roughen the wood fibers, drive water behind the siding, strip sound finish, and leave lap boards with a fuzzy texture that holds dirt. If a pressure washer is used at all, it should be on a low setting, with a wide fan tip and enough distance to avoid damaging the wood. In many cases, hand washing is the safer choice.
Mildew deserves a closer look. It often appears as dark spotting on shaded walls, near landscaping, or where gutters overflow. Use a cleaner formulated to remove mildew from wood, then correct the condition that allowed it to grow. Recleaning the same wall every year without improving drainage, sun exposure, or airflow only treats the symptom.
Watch for Tannin Bleed and Metal Stains
Cedar contains natural tannins that can create brown streaks, especially when water repeatedly runs over the wood. Rust-colored marks may also come from non-galvanized fasteners, metal fixtures, or runoff from a roof component.
Cleaning may lighten these stains, but the long-term fix is controlling the water source and using appropriate corrosion-resistant fasteners. When replacing nails or making siding repairs, stainless steel fasteners are a dependable choice for cedar because they are far less likely to leave staining behind.
Control Water Around the Siding
The biggest threat to cedar siding is not rain itself. It is water that lingers where it should not. Good exterior maintenance keeps bulk water moving away from the house and gives the siding a chance to dry between storms.
Check gutters and downspouts at least twice a year and after major storms. Clear debris, repair loose sections, and make sure downspouts discharge well away from the foundation. Look closely at the wall behind each downspout. Staining, soft wood, or recurring mildew can point to an overflow or leak that is easy to miss from the ground.
Trim shrubs, vines, and tree branches back from the siding. Plants pressed against cedar trap dampness, block airflow, and make it harder to spot insect activity or damaged boards. Aim to leave a clear gap so the wall can dry naturally after rain.
Also inspect the bottom edge of the siding. Cedar should not sit against soil, mulch, patio surfaces, or piled snow. Ground contact invites moisture and insect damage. If landscaping has risen over time, pull it back to expose the proper clearance. That small adjustment can prevent a repair from spreading into framing, trim, or sheathing.
Inspect Cedar Siding Every Spring and Fall
A careful walk around the home twice a year helps you catch small issues while they are still manageable. Spring inspections reveal what winter left behind. Fall inspections prepare the exterior for heavier rain, freezing temperatures, and snow.
Pay special attention to the areas that take the most abuse: south- and west-facing walls, corners, window and door trim, the lower courses of siding, roof-to-wall intersections, and areas near decks or sprinklers. Bring a flashlight and look at the siding from an angle. Changes in sheen, raised grain, open seams, and nail heads are often easier to see that way.
Look for these common warning signs:
- Finish that is chalky, faded, peeling, or no longer sheds water
- Cracks, splits, cupping boards, or loose pieces of siding
- Soft spots, dark discoloration, or wood that feels spongy when gently pressed
- Open gaps around windows, doors, vents, and trim
- Insect holes, sawdust-like material, or damaged wood near the ground
One cracked board is not always a major concern. Cedar expands and contracts with seasonal moisture changes, and minor surface checking can happen as wood ages. The concern is whether water can get behind the siding or whether the damage is spreading. When there is rot, repeated movement, or soft material beneath the surface, a professional repair is usually the smarter route.
Refinish Before the Wood Looks Worn Out
Waiting until cedar looks severely weathered makes refinishing harder and more costly. The best time to recoat is when the existing finish has started to lose water resistance or fade, but before widespread peeling, bare wood, and deep staining appear.
A simple water test can help. Sprinkle water on several areas of clean, dry siding. If it beads on the surface, the finish is still working. If it darkens the wood and absorbs quickly, plan to refresh the protection soon. Test multiple walls because sunny exposures often wear faster than shaded ones.
How often cedar needs refinishing depends on the product, sun exposure, wall orientation, and how protected the house is by roof overhangs and landscaping. Clear water repellents may need attention every one to two years. Semi-transparent stains commonly last about three to five years. Solid stains and paint can last longer, but their lifespan depends heavily on surface preparation and moisture control.
Preparation is where quality workmanship shows. The siding should be clean, dry, and free of loose finish before applying stain or paint. Failed coating needs to be scraped, feather-sanded, and spot-primed when appropriate. Any rotten or damaged boards should be repaired first. Covering a problem with a fresh coat may improve the appearance for a season, but it will not stop moisture damage underneath.
Choose a dry stretch of weather and avoid applying finish to hot, sun-baked siding. Work within the product’s temperature guidelines, and do not coat wood that has recently been rained on. Cedar needs time to dry thoroughly so the new finish can bond properly.
Repair Small Problems Before They Spread
Cedar siding is repairable, which is one of its strengths. A localized damaged board can often be replaced without redoing an entire wall, provided the surrounding siding and water-management details are sound.
Caulk should be used carefully. It is useful around trim, penetrations, and certain joints where water could enter, but it is not a substitute for proper flashing or a damaged board. Do not caulk siding overlaps or areas designed to drain. Those gaps allow the wall assembly to shed water and dry out.
If boards are repeatedly splitting, pulling loose, or rotting in the same area, look beyond the wood itself. A missing kick-out flashing, failing gutter, poor roof detail, sprinkler spray, or lack of clearance from a deck may be feeding the problem. Addressing the source protects your repair and prevents the same call-back a year later.
When It Makes Sense to Call a Carpenter
Homeowners can handle routine washing, trimming vegetation, and visual inspections. But if you find soft wood, widespread peeling, recurring leaks, or siding damage around windows and doors, the repair may involve hidden flashing, trim, sheathing, or structural details.
That Guy Carpentry helps homeowners throughout Nassau and Suffolk County assess exterior problems clearly, explain the practical repair options, and complete the work with the same attention to detail used on larger renovation projects. Whether the answer is a few targeted board replacements or a broader siding restoration, the goal should be a repair that looks right and keeps water where it belongs.
A cedar exterior rewards steady care. Set a reminder for spring and fall inspections, keep water moving away from the walls, and renew the finish before the wood is exposed. Those habits protect the natural beauty that made you choose cedar in the first place.