
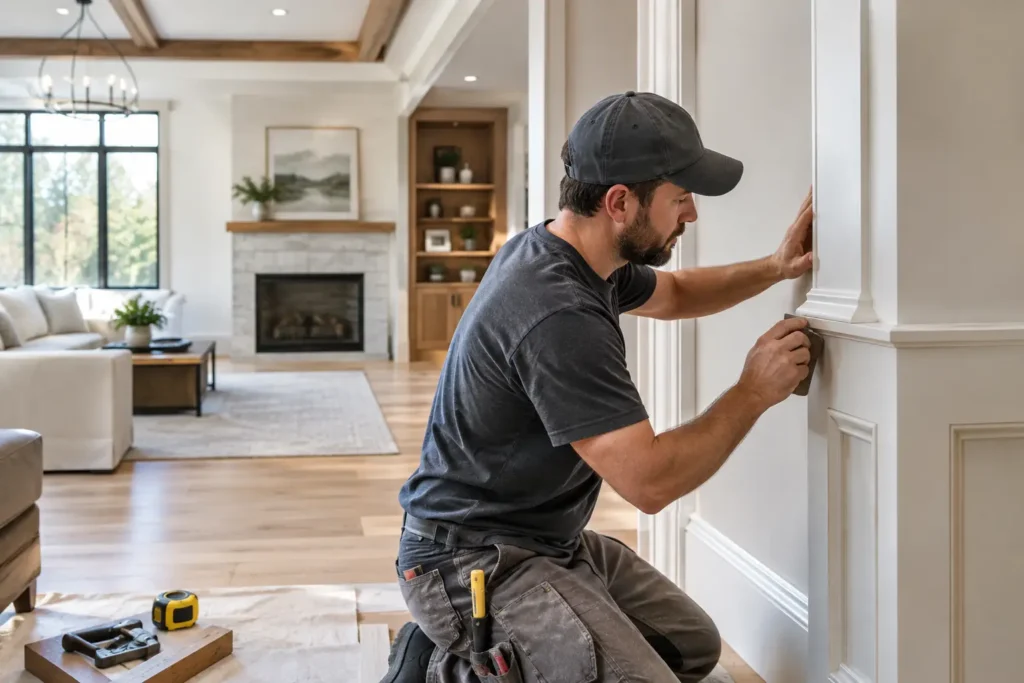
A room can have new flooring, fresh paint, and beautiful furniture and still feel unfinished. The difference is often in the details around the edges: the baseboards meeting the floor, the casing around a door, the crown molding at the ceiling, and the built-ins that give everyday items a proper home. This finish carpentry design guide helps you make those decisions before work begins, so the finished space feels intentional rather than pieced together.
Finish carpentry is where a renovation starts to look like it belongs to your home. It also affects how the home functions. A well-designed entry bench cuts down on clutter. Properly sized window trim makes a room feel taller or more balanced. Thoughtful closet shelving can make a small bedroom work much harder for a growing family.
Start With the Architecture You Already Have
The best finish carpentry does not compete with the house. It takes its cues from the home’s age, proportions, and existing details. Before choosing a wide baseboard or an elaborate crown profile, look at what is already there. Are the doors traditional raised-panel doors, simple flat slabs, or something in between? Do the windows have existing casing? Are the ceilings eight feet high or closer to ten?
For many Long Island homes, the goal is not to make every room look historic or overly formal. It is to create continuity. A clean, square-edge trim profile can suit a renovated ranch or contemporary colonial beautifully. A taller, more detailed casing may make sense in a classic center hall colonial with substantial doorways and higher ceilings.
Scale matters as much as style. Oversized crown molding in a low-ceiling room can feel heavy. Very narrow baseboard in a large renovated kitchen can look undersized, especially next to custom cabinets and wide-plank flooring. A carpenter should help you match the proportions of the trim to the room rather than selecting materials from a showroom display alone.
Build a Finish Carpentry Design Guide Room by Room
A whole-house plan is useful, but each room has different needs. Start by deciding which details should remain consistent throughout the home, then make room-specific choices where function calls for them.
Baseboards, door casing, interior doors, and hardware finishes usually benefit from consistency. Repeating those elements creates a visual connection as you move from the foyer into bedrooms, hallways, and living areas. Built-ins, wall treatments, and specialty storage can vary more because they are tied to how each space is used.
In a living room, finish carpentry may center on a fireplace surround, bookcases, a media wall, or a window seat. In a kitchen, it might include cabinet crown molding, pantry shelving, a custom range hood surround, or a trim transition that ties new cabinetry into an adjacent dining area. In bedrooms, closet systems, window benches, and properly fitted doors often deliver the biggest everyday improvement.
Bathrooms deserve special attention because moisture changes the material choices. Painted wood trim can work well when properly prepared and finished, but it should be detailed to keep water away from vulnerable joints. In high-use areas, durability and cleanability are just as important as appearance.
Choose Profiles That Will Still Feel Right Years From Now
Trim profiles are the shape and detail cut into molding. They range from crisp, simple boards to layered traditional profiles. There is no single right choice, but there is a common mistake: choosing the most decorative option without considering the rest of the house.
Simple trim usually works well in homes with modern lighting, flat-panel doors, open layouts, and clean-lined cabinetry. It can also be a smart choice for homeowners who want a polished update without making the room feel formal. Traditional homes often support more detail, such as backband around casing, built-up crown molding, or paneled wainscoting.
Painted finish work remains a popular choice because it creates a clean, unified look and allows more flexibility with wall colors. Stained wood can bring warmth and character, especially when it matches existing floors, beams, or cabinetry. The trade-off is that stain is less forgiving. Wood grain, color variation, and every joint need more careful consideration because they remain visible.
If you are mixing new finish carpentry with existing woodwork, bring photos and measurements into the design conversation. Matching old trim exactly is not always possible, particularly in older homes. In that case, a coordinated update in the most visible areas can look better than a close-but-not-quite match beside the original work.
Treat Doors and Openings as Design Features
Interior doors are often overlooked until the final phase of a project, yet they occupy a lot of visual space. A new door style can change the character of a hallway more than homeowners expect. Solid-core doors offer a more substantial feel and better sound control than hollow-core options, which can be valuable near bedrooms, home offices, and bathrooms.
The casing around those doors should be planned at the same time. Door trim, baseboards, and crown molding should feel related, even if they are not identical. Their widths and profiles need to work together.
Open floor plans create another opportunity. A cased opening between the kitchen and dining room, a wrapped beam, or a carefully trimmed column can define zones without closing off the space. These details are particularly helpful when a renovation removes walls and the home needs a sense of structure afterward.
Design Built-Ins Around Real Life, Not Just Photos
A custom built-in should solve a problem. Before settling on shelf spacing or cabinet doors, think about what will actually live there. Books, board games, framed photos, a printer, media equipment, pet supplies, and kids’ backpacks all need different dimensions and access.
A media center looks cleaner when wires, outlets, ventilation, and component sizes are addressed before the cabinetry is built. A mudroom works better when bench depth, shoe storage, hooks, and cubbies reflect the number of people using it. A home office benefits from a mix of open shelves, closed storage, and a work surface at the right height.
This is where custom carpentry earns its value. Stock furniture can fill a wall, but it rarely accounts for uneven corners, existing radiators, shallow alcoves, or the exact way your family uses the room. A built-in can be designed around those realities instead of asking you to work around the furniture.
Plan the Details Before Paint and Flooring Are Finalized
Finish carpentry is called the finishing stage, but the best results depend on early coordination. Flooring thickness affects door clearances and baseboard installation. New tile affects jamb height and transitions. Cabinet layout can determine where crown molding stops or how a pantry opening is trimmed.
Lighting and electrical plans also matter. Wall sconces, under-cabinet lighting, outlets inside built-ins, and television connections are much easier to place before walls are closed and trim is installed. If a paneling design includes a wall-mounted television or artwork lighting, mark those locations early.
Paint color should be tested against the trim sample, not chosen in isolation. White trim can lean warm, cool, creamy, or bright depending on the finish and surrounding wall color. A sample board viewed in morning and evening light can prevent a costly surprise after several rooms are complete.
Know Where to Invest and Where to Simplify
A finish carpentry budget does not need to include elaborate molding in every room. Put the investment where it changes the experience of the home: a hardworking mudroom, a living-room focal wall, a kitchen pantry, a primary-bedroom closet, or the entry guests see first.
You can simplify secondary bedrooms, utility spaces, and less visible hallways while still maintaining consistent baseboards and door trim. This approach keeps the home cohesive without stretching the budget on details that will not add much function or enjoyment.
Material choice also affects cost and performance. Solid wood is a strong choice for stained work and detailed custom pieces. MDF can provide a smooth painted finish for interior trim in dry areas. Finger-jointed pine may be practical for painted moldings. The right answer depends on the location, desired finish, moisture exposure, and how much wear the piece will receive.
Work With a Carpenter Who Can See the Full Project
Finish work should not be treated as an afterthought handed off at the end of a renovation. It connects the flooring, walls, cabinetry, doors, paint, and storage into one finished result. A coordinated contractor can spot conflicts early, recommend practical material options, and keep the design aligned with your budget.
At That Guy Carpentry, the goal is to turn the details you imagine into work that fits your home, your family, and the way you live in the space. Bring inspiration photos, measurements, and a list of frustrations you want to solve. The strongest design plan usually begins there: not with the fanciest molding, but with a home that feels more complete every time you walk through the door.