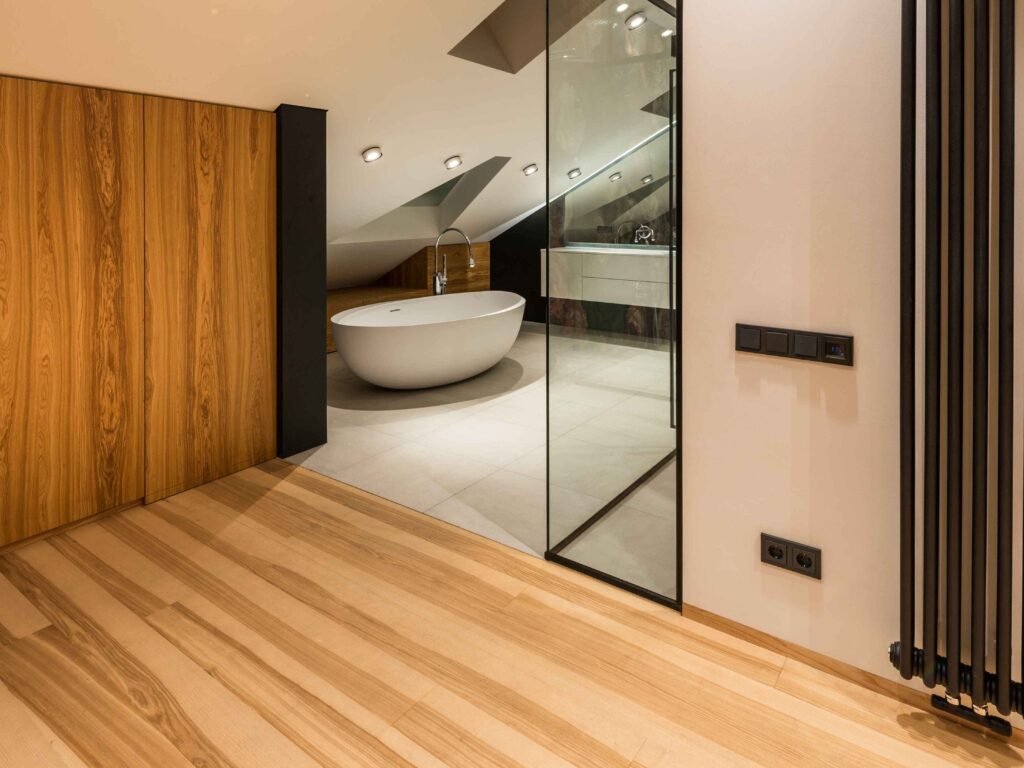
A new wood floor can make a room feel finished before a single piece of furniture goes back in. But hardwood flooring installation is not simply a matter of choosing a color, bringing in planks, and getting them nailed down. The result depends on what is beneath the floor, how the wood responds to your home’s conditions, and the care taken at every transition, doorway, and edge.

For Long Island homeowners, that preparation matters. Seasonal humidity, older subfloors, additions with different floor heights, and busy family schedules can all affect the right installation plan. A beautiful floor should also feel solid underfoot, work with the rest of the house, and hold up to real life.

Start With the Floor You Actually Need

The best hardwood is not always the widest plank or the darkest stain. It is the product that fits your home, your room, and the way you live in it.

Solid hardwood is a classic choice for living rooms, bedrooms, dining rooms, and other dry spaces. It can often be refinished over time, which gives it a long service life when it is properly maintained. However, solid wood expands and contracts with changes in moisture. It generally needs a stable wood subfloor and is not the right answer for every below-grade space or concrete slab.

Engineered hardwood has a real wood surface over layered construction. That build gives it more dimensional stability, making it a practical option over concrete, in certain basement applications, or where changing humidity is a concern. Not every engineered product has the same wear layer or refinishing potential, so the details matter. A low-cost product may look good on day one but offer fewer options years from now.

Species, board width, finish, and sheen also change how a floor performs. Oak remains popular because it is durable and its grain helps disguise everyday wear. Maple has a cleaner, subtler grain but can show dents and scratches differently. Wider boards create a more open look, yet they make an uneven subfloor more noticeable and require careful moisture planning. A matte or satin finish is often more forgiving than a high-gloss floor in homes with children, dogs, or a lot of natural light.

Hardwood Flooring Installation Starts Below the Surface

Most flooring problems people notice later - squeaks, gaps, cupping, soft spots, or uneven seams - begin before the first board is installed. That is why a professional visit should include a close look at the existing floor structure, not just measurements for square footage.

The subfloor must be clean, dry, flat, and secure. In an older Long Island home, that can mean correcting dips in the floor, replacing water-damaged plywood, tightening loose sections, or addressing old adhesive and underlayment. A floor can be level overall and still be too uneven for hardwood. Small high and low spots can keep boards from sitting correctly, creating movement and visible joints.

Moisture testing is equally important. Wood flooring and the material underneath it need to be within acceptable moisture ranges before installation begins. If moisture is trapped below the floor or the wood is installed before it has adjusted to the home, boards can cup, crown, separate, or push against one another. There is no one-size-fits-all acclimation timeline. The product, season, subfloor, indoor climate, and manufacturer requirements all affect the right approach.

This step is not glamorous, but it protects the investment. Rushing installation to meet a deadline can create a problem that costs far more time and money to correct later.

Room Conditions Matter, Too

Hardwood performs best when your home is kept within a reasonably consistent temperature and humidity range. That does not mean you need perfect conditions every day. It means the house should be operating as a lived-in home before, during, and after installation.

If a room has a history of leaks, a damp crawl space, poor drainage outside, or large swings in humidity, those concerns should be addressed first. Flooring is a finish surface, not a fix for an underlying moisture problem. The same is true near exterior doors, kitchens, pet water stations, and other areas where repeated water exposure is likely.

What a Careful Installation Process Looks Like

A well-planned project begins by confirming the material, layout, scope of preparation, and how the work will affect daily routines. Furniture may need to be moved, existing flooring may need removal, and the home will need clear access for materials and tools. Good communication keeps those details from becoming last-minute surprises.

The installer then establishes the starting line and direction of the boards. In many homes, flooring is run parallel to the longest wall or aligned with existing floors in adjacent rooms. But the best direction can depend on joist placement, room shape, sightlines, and how the flooring will meet hallways or stairs. This is where craftsmanship shows. A thoughtful layout avoids narrow, awkward-looking pieces at the walls and creates a more intentional flow from room to room.

Depending on the product and subfloor, boards may be nailed, stapled, glued, floated, or installed with a combination of methods. Each method has a purpose. Nail-down installation is common for solid hardwood over plywood. Glue-down engineered flooring can be a strong option over suitable concrete or wood substrates. Floating floors can work in select situations, but they need room to move and careful attention at transitions.

Expansion space around the perimeter is another essential detail. Wood needs room to respond to seasonal movement, and baseboards or shoe molding are used to cover that space without pinning the floor in place. Door jambs are undercut so the boards slide beneath them cleanly rather than ending in a rough visible gap. At doorways, stairs, fireplaces, vents, and built-ins, precise cuts make the difference between an installation that looks custom and one that looks patched together.

Plan for the Details That Affect Your Budget

A flooring estimate should account for more than the price of the planks. Removal and disposal of old flooring, subfloor repairs, moisture barriers, trim work, transitions, moving furniture, stair components, and finish touch-ups can all affect the final scope.

Sometimes homeowners choose to install new hardwood only in a few rooms and keep existing wood elsewhere. That can work well, but matching an older floor is not always exact. Wood changes color with age and sun exposure, and different mills can produce different tones even within the same species and stain name. A skilled contractor can help you decide whether a close transition, a border detail, refinishing, or a deliberate contrast will look best.

It is also wise to order enough material for normal cuts, layout adjustments, and a small amount of future repair stock. Saving a few unused boards can be valuable if a section is ever damaged by a leak or renovation work. The exact overage depends on the room shape, pattern, board width, and number of closets, angles, or obstacles.

Protecting Your New Wood Floor

After installation, wait for the recommended curing time before placing rugs, heavy furniture, or cleaning the floor with moisture. Use felt pads under chair and table legs, place mats at exterior doors, and wipe up spills promptly. Avoid soaking the floor or using harsh cleaners that leave residue.

Sunlight will also change wood over time. Area rugs and furniture can slow that change in covered areas, so moving them occasionally helps the floor age more evenly. A few everyday scratches are part of a lived-in home, but steady maintenance keeps those marks from becoming wear patterns.

For homeowners planning a larger renovation, flooring should be coordinated with cabinetry, interior doors, trim, painting, and any custom carpentry. Installing in the right order protects the floor and gives the finished rooms a more cohesive look. That Guy Carpentry helps homeowners plan those connected details so one improvement does not create unnecessary work for the next.

The right floor should not only look good in a sample board. It should suit your home’s structure, your family’s routines, and the way you want each room to feel for years to come. A careful conversation before the work starts is often the best way to make sure every board has a purpose.